Welcome to the Daikin Fit Installation Manual‚ your comprehensive guide for installing the Daikin Fit system. This manual ensures proper setup‚ safety‚ and optimal performance for your HVAC needs.
1.1 Overview of the Daikin Fit System
The Daikin Fit system is a compact‚ energy-efficient HVAC solution designed for quiet operation and reliable performance. It features a slim design‚ making it ideal for various spaces while providing consistent heating and cooling. This system is known for its adaptability and suitability for modern home layouts and climates.
1.2 Importance of Proper Installation
Proper installation ensures the Daikin Fit system operates efficiently‚ safely‚ and reliably. It prevents potential damages‚ optimizes energy performance‚ and extends system longevity. Correct setup also guarantees compliance with safety standards and manufacturer guidelines‚ ensuring optimal comfort and functionality for years to come.

Pre-Installation Considerations
Before installation‚ assess system requirements‚ perform load calculations‚ and select a suitable location. Ensure structural integrity and proper spacing for the unit to guarantee safe and efficient operation.
2.1 Understanding System Requirements
Understanding system requirements ensures compatibility and efficiency. Verify the unit’s capacity‚ voltage‚ and amperage needs. Check ductwork‚ insulation‚ and space constraints. Ensure local building codes and safety standards are met for a smooth installation process and optimal performance of the Daikin Fit system.
2.2 Load Calculation and Sizing

Accurate load calculation ensures the Daikin Fit system is sized correctly for your space. Consider factors like room size‚ insulation‚ and local climate. Proper sizing prevents underperformance or energy waste. Refer to the manual and local codes for precise calculations to achieve optimal comfort and efficiency.
2.3 Choosing the Right Location
Selecting the right location for your Daikin Fit system is crucial for optimal performance. Ensure the outdoor unit is placed in a well-ventilated area‚ away from direct sunlight and shrubs. The indoor unit should be installed in a location that allows proper airflow and easy maintenance access. Avoid areas prone to water accumulation or extreme temperatures.

Safety Precautions and Guidelines
Always follow safety guidelines when installing the Daikin Fit system. Wear protective gear‚ ensure proper ventilation‚ and avoid overloading electrical circuits to prevent accidents and ensure safe operation.
3.1 General Safety Measures
Adhere to general safety measures during Daikin Fit installation. Wear protective gear‚ ensure the area is well-ventilated‚ and disconnect power before starting work. Follow all warnings and cautions in the manual to prevent injuries and system damage‚ ensuring a safe and successful installation process every time.
3.2 Handling Refrigerants and Electrical Components
When handling refrigerants and electrical components‚ always follow proper procedures to avoid contamination and electrical hazards. Use approved tools‚ ensure system evacuation‚ and adhere to safety protocols for handling refrigerants. Properly insulate and secure electrical connections to prevent risks and ensure compliance with safety standards for a reliable installation.
3.3 Spill Zone and Pressure Safety Features
The Daikin Fit system includes spill zone and pressure safety features to prevent damage from unwanted pressure buildup. These features ensure safe operation by monitoring and regulating pressure levels‚ protecting the ductwork and components from potential damage. Proper setup and adherence to installation guidelines are crucial to maintain these safety mechanisms effectively.
Electrical Connections and Requirements
This section outlines the electrical requirements for the Daikin Fit system‚ including voltage‚ amperage‚ wiring‚ and circuit breaker setup. Ensure compliance with national electrical codes for safe and efficient installation.
4.1 Voltage and Ampere Requirements
The Daikin Fit system requires a 230/208/240-volt power supply. Check the specific amperage needs for your model‚ such as 5-ton units‚ which typically draw around 15-20 amps. Always consult the installation manual for precise specifications to ensure compatibility and safety.
4.2 Wiring and Circuit Breaker Setup
Ensure wiring complies with national electrical codes and the installation manual. Use appropriately sized wires for the system’s voltage and amperage requirements. Install a dedicated circuit breaker to handle the load. Secure all connections tightly and verify proper grounding for safe operation.
4.4 Compliance with National Electrical Codes
Adhere to National Electrical Codes (NEC) for safe installation. Ensure all wiring and components meet local regulations. Obtain necessary permits and inspections. Use licensed professionals to guarantee compliance‚ avoiding potential hazards and system malfunctions. Proper compliance ensures reliability‚ efficiency‚ and adherence to safety standards; Always refer to local codes for specific requirements.
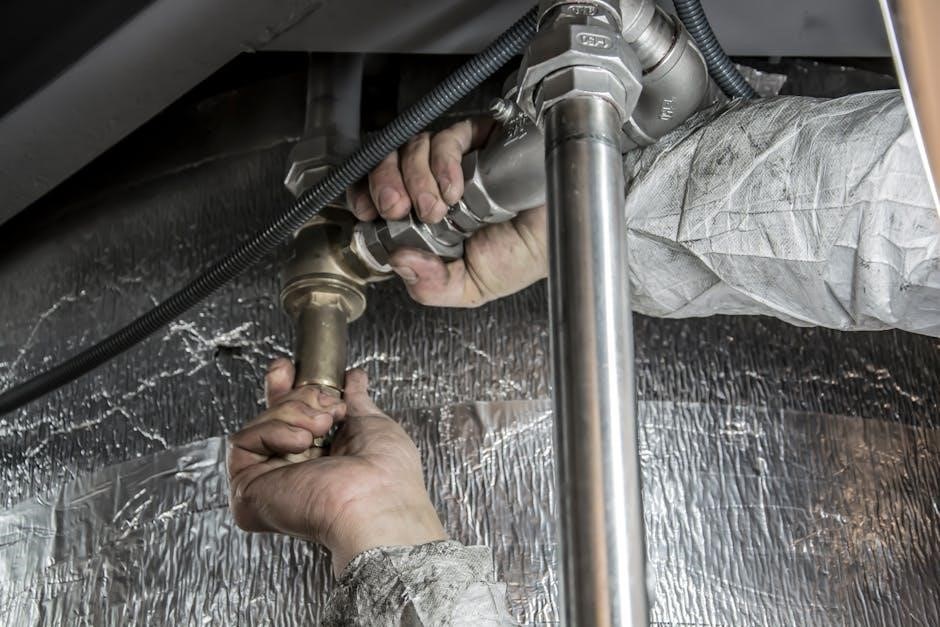
Refrigerant Line Installation
Properly size and route refrigerant lines to ensure efficient system performance. Use correct brazing techniques and insulation. Test for leaks and ensure lines are securely connected. Follow manual guidelines for optimal setup and safety.
5.1 Sizing and Routing Refrigerant Lines
Accurately size refrigerant lines based on system requirements to ensure optimal flow. Route lines to avoid bends and damage‚ ensuring proper insulation. Follow manual guidelines for correct sizing and routing to maintain efficiency and prevent potential leaks or pressure issues during operation.
5.2 Brazing and Insulation Techniques
Use proper brazing techniques to ensure leak-free connections. Apply silver-based solder and flux for durability. Insulate refrigerant lines to prevent heat transfer and energy loss. Follow recommended materials and methods for brazing and insulation to maintain system efficiency and longevity‚ adhering to safety and installation standards.
5.3 Leak Testing and Charging
Conduct thorough leak testing using a digital gauge to ensure system integrity. Vacuum the lines to remove air and moisture before charging. Charge the system with the recommended refrigerant type and amount‚ following manufacturer guidelines to ensure optimal performance and efficiency. Verify pressure levels match specifications for reliable operation.

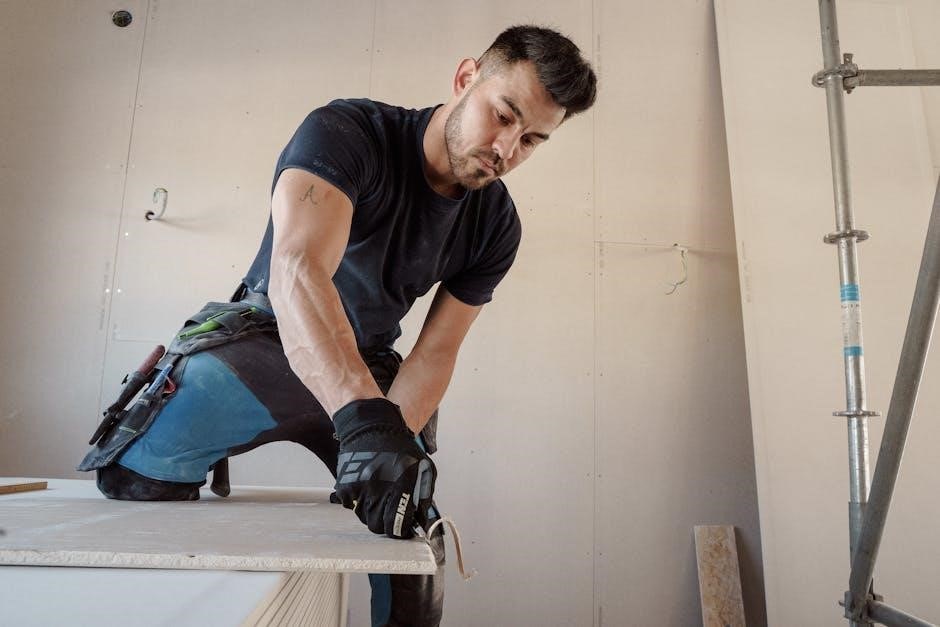
Indoor and Outdoor Unit Installation
Proper installation of Daikin Fit units ensures efficiency and reliability. Secure both indoor and outdoor units‚ ensuring proper drainage and airflow for optimal performance.
6.1 Mounting the Indoor Unit
Mount the Daikin Fit indoor unit securely on a suitable wall or floor‚ ensuring level placement. Follow manual instructions for bracket installation and connection. Proper alignment and stability are crucial for efficient operation and noise reduction. Ensure all electrical connections are secure before powering on the unit.
6.2 Positioning the Outdoor Unit
Place the Daikin Fit outdoor unit on a level surface‚ ensuring adequate clearance from walls and obstacles. Avoid areas exposed to direct sunlight or water accumulation. Proper airflow and drainage are essential for optimal performance. Secure the unit firmly to prevent vibration and ensure compliance with local building codes.
6.3 Ensuring Proper Drainage
Ensure the Daikin Fit system has proper drainage to prevent water accumulation. Install a drain pan and connect it to a suitable disposal line. Regularly inspect and clean the drain to avoid blockages‚ which can lead to system damage or mold growth. Proper drainage is crucial for efficient and safe operation.

Controls and Thermostat Setup

Configure the thermostat to optimize heating and cooling. Understand airflow settings and delays. Integrate smart controls for remote management. Refer to the manual for detailed setup instructions.
7.1 Configuring the Thermostat
Configuring the thermostat involves setting temperature preferences‚ scheduling‚ and airflow modes. Refer to the installation manual for specific instructions. Ensure the thermostat is properly synced with the Daikin Fit system for optimal performance. Adjust settings as needed to customize your heating and cooling experience.
7.2 Understanding Delay and airflow Settings
7.2 Understanding Delay and Airflow Settings
Delay settings allow the system to wait before starting operations‚ preventing sudden temperature changes. Airflow settings control fan speed for consistent circulation. Adjust these settings in the thermostat menu to optimize comfort and energy efficiency‚ ensuring smooth transitions between heating and cooling modes seamlessly.
7.3 Integrating Smart Controls
Integrate smart controls with your Daikin Fit system for enhanced convenience. Use compatible smart thermostats or home automation systems to regulate temperature‚ monitor energy usage‚ and adjust settings remotely. This seamless integration optimizes performance‚ improves efficiency‚ and offers voice command functionality for a smarter living experience.
Testing and Commissioning
After installation‚ conduct thorough system tests to ensure proper functionality. Check for leaks‚ verify airflow‚ and validate temperature performance. Adjust settings as needed for optimal operation.
8.1 Running Initial System Tests
Initiate the Daikin Fit system by powering it on and observing its startup sequence. Ensure the outdoor and indoor units operate in sync. Check for unusual noises and verify that heating or cooling modes activate correctly. This step ensures the system functions as intended before full commissioning begins.
8.2 Checking for Leaks and Proper Functionality
Use electronic leak detectors to inspect refrigerant lines for any leaks. Visually inspect all connections and ensure there are no hissing sounds. Test the system in both heating and cooling modes to confirm proper airflow and temperature changes. Verify drainage functionality to prevent water damage or mold growth.
8.3 Adjusting System Parameters
Adjust system parameters to optimize performance. Check and fine-tune pressure settings‚ airflow rates‚ and temperature thresholds. Ensure all settings align with the installation manual guidelines. Use specialized tools for precise adjustments. Verify system stability and efficiency after modifications. Proper calibration ensures reliable operation and maximizes energy efficiency throughout the system’s lifecycle.
Troubleshooting Common Issues
Identify error codes‚ resolve pressure and airflow issues‚ and address electrical malfunctions. Check connections‚ ensure proper system calibration‚ and consult the manual for detailed troubleshooting steps and solutions.
9.1 Identifying Error Codes
Refer to the installation manual to interpret error codes like E11‚ which indicate high head pressure. Check the display on the indoor unit or thermostat for specific codes. Ensure proper communication between components and consult troubleshooting guides for detailed solutions and repair steps to resolve issues efficiently.
9.2 Resolving Pressure and Flow Issues
Address pressure and flow problems by checking for blockages in refrigerant lines or ducts. Ensure proper system installation‚ and verify refrigerant levels. Refer to the manual for error codes like E11‚ which indicate high head pressure‚ and follow recommended solutions to restore optimal airflow and system performance.
9.3 Addressing Electrical Malfunctions
Identify electrical issues by checking for loose connections‚ tripped circuit breakers‚ or blown fuses. Verify wiring compliance with national codes and ensure proper voltage supply. Consult the installation manual for error codes like E11‚ which may indicate electrical malfunctions. Contact a certified technician for complex repairs to avoid further damage.

Maintenance and Service
Regularly inspect and clean filters‚ coils‚ and drain lines to ensure optimal performance. Schedule professional tune-ups annually and adhere to the manufacturer’s recommended maintenance schedule for longevity.
10.1 Scheduled Maintenance Tasks
Perform routine filter cleaning monthly and replace as needed. Inspect drain lines for blockages and ensure proper airflow. Schedule annual professional inspections to check refrigerant levels‚ electrical connections‚ and system performance. Clean outdoor unit coils to maintain efficiency and prevent damage.
10.2 Cleaning and Inspecting Components
Regularly clean air filters and coils to ensure optimal airflow and efficiency. Inspect fan blades for dust buildup and damage. Check drain pans and lines for blockages. Use a soft brush or vacuum to clean indoor and outdoor units‚ avoiding harsh chemicals that may damage components.
10.3 Updating Firmware and Software
Periodically update the system’s firmware and software to access new features and improvements. Use the Daikin support portal to download the latest versions. Ensure a stable internet connection during updates. Follow the manual’s instructions to prevent system disruptions and maintain optimal performance.
Compliance and Warranty Information
Ensure compliance with local building codes and regulations. Review warranty terms for coverage details. Register your system to validate the warranty and access exclusive support services.
11.1 Adhering to Local Building Codes
Ensure compliance with local building codes and regulations during installation. Verify code requirements for electrical‚ structural‚ and safety standards. Non-compliance can lead to safety risks and performance issues. Always consult local authorities for specific regulations and ensure all installations meet these standards for optimal function and durability.

11.2 Understanding Warranty Terms
Understand the warranty terms for your Daikin Fit system‚ which typically covers parts and labor for specific periods. Proper installation by certified technicians is essential for warranty validity. Register your system to ensure coverage. Review the warranty document for details on what is included and any limitations. Adhere to manufacturer requirements.
11.3 Registering the System
Register your Daikin Fit system to activate warranty coverage and ensure manufacturer support. Visit Daikin’s official website or use their Owner Support Center to complete the registration process. Provide required details like serial number and installation date. Registration ensures seamless access to service and maintains system records for future reference.
This concludes the Daikin Fit Installation Manual. Ensure proper setup by consulting the manual or contacting Daikin support. Visit their website for resources and professional assistance.
12;1 Final Checks and Handover
After installation‚ perform a final system test to ensure all components function correctly. Review the manual with the homeowner‚ highlighting key features and maintenance tips. Provide necessary documentation‚ including warranties and support contacts‚ for future reference and assistance.
12.2 Accessing Daikin Support and Documentation
Visit Daikin’s official website or Owner Support Center for installation manuals‚ product brochures‚ and warranty information. Registered users can access exclusive resources‚ including troubleshooting guides and technical support. Utilize these tools to ensure optimal system performance and address any installation or operational queries effectively.
12.3 Importance of Professional Installation
Professional installation ensures your Daikin Fit system operates efficiently‚ safely‚ and as intended. Improper installation can lead to reduced performance‚ higher energy bills‚ and potential system damage. Always hire a qualified technician to handle complex tasks like electrical connections and refrigerant handling‚ ensuring compliance with safety standards and manufacturer recommendations.