Welcome to the JUKI MO-6716S Adjustment Manual, your guide to optimizing serger performance. This manual is designed for professionals and hobbyists to master adjustments, ensuring high-quality stitching every time.
1.1 Overview of the JUKI MO-6716S Serger
The JUKI MO-6716S is a high-speed, 2-needle safety stitch serger designed for industrial sewing. It offers a maximum speed of 7,000 stitches per minute, making it ideal for heavy-duty applications. This machine features advanced mechanisms like differential feed micro-adjustment and external adjustment for precise control. Suitable for various fabrics, it ensures professional results with consistent stitching quality and durability.
1.2 Importance of Proper Adjustments
Proper adjustments are critical for the JUKI MO-6716S to ensure optimal performance and prevent damage. Incorrect settings can lead to thread breakage, uneven stitches, and machine wear. Regular adjustments maintain precise thread tension, consistent stitching, and fabric compatibility. This ensures high-quality results and extends the machine’s longevity, making it essential to follow the manual’s guidelines carefully.
1.3 Safety Precautions Before Starting Adjustments
Before adjusting your JUKI MO-6716S, ensure your safety. Always disconnect the power source to prevent accidental start-up. Wear protective gear like gloves to avoid injuries. Keep loose clothing tied back and long hair secured. Properly understand each adjustment step to avoid errors. Refer to the manual for specific safety guidelines to maintain a secure working environment.
Understanding the Machine Components
The JUKI MO-6716S features key components like the control panel, tension dials, loopers, and throat plate. Familiarizing yourself with these parts is essential for effective adjustments and operation.
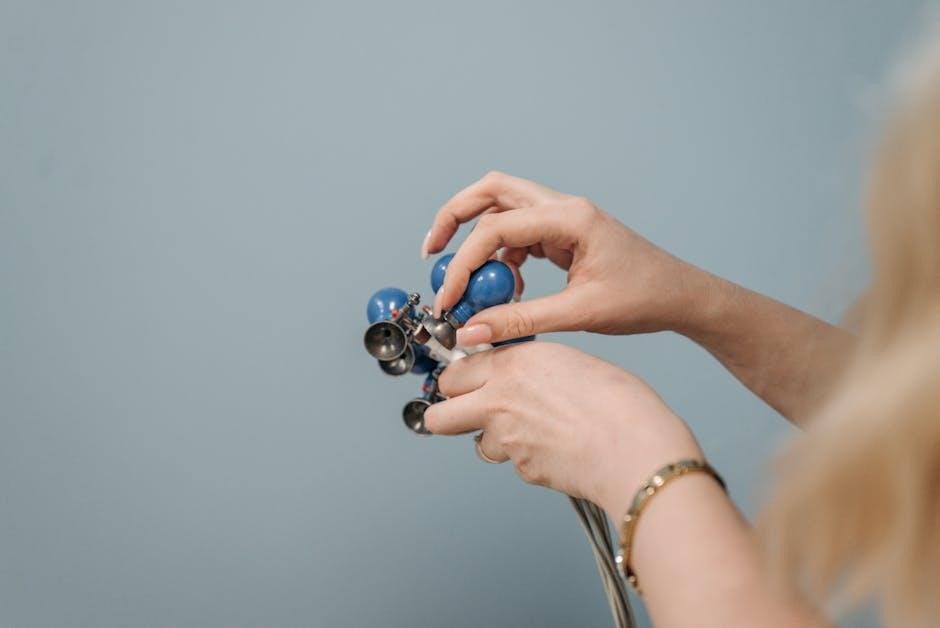
2.1 Identification of Key Parts and Functions
The JUKI MO-6716S features essential components like the control panel for settings, tension dials for thread adjustment, loopers for stitch formation, and the throat plate to guide fabric. The needle bar and differential feed mechanism ensure precise stitching, while the lower looper and upper looper work together to create perfect overlock stitches. Understanding these parts is vital for effective operation and adjustments.
2.2 Exploring the Control Panel and Adjustments
The control panel of the JUKI MO-6716S includes dials for thread tension, differential feed, and stitch length/width. These adjustments allow customization for various fabrics and stitching needs. The tension dials control upper and lower looper threads, while the differential feed knob ensures even fabric flow. Accurate adjustments here are key to achieving consistent, professional-quality seams and preventing common issues like thread breakage or uneven stitching.
Basic Adjustments for Optimal Performance
Master the fundamentals of thread tension, looper adjustment, and stitch length/width settings to ensure smooth stitching and proper fabric handling for consistent results with your JUKI MO-6716S serger.
3.1 Thread Tension Adjustment
Proper thread tension is crucial for consistent stitching. Start by loosening the tension screws slightly before threading. Adjust the upper and lower looper tensions using the screwdriver, ensuring even thread flow. Test tension on scrap fabric; it should be tight enough to prevent sagging but not overly tight, which can cause breakage. Fine-tune until stitches are balanced and fabric lies flat.
3.2 Looper Adjustment for Perfect Stitches
Ensure lower and upper loopers align properly. Gently loosen the setscrew and adjust the lower looper’s position using the adjustment screw. Test on scrap fabric; stitches should be even and consistent. If loops are too loose or tight, fine-tune the screw until the stitch quality improves. Always refer to the manual for precise alignment techniques.
3.3 Stitch Length and Width Settings
Adjust stitch length and width using the control panel or manual dials. Set length from 1-5mm and width from 2-8mm. For delicate fabrics, use shorter lengths; for heavy-duty, increase length. Ensure balanced settings for consistent seams. Test adjustments on scrap fabric to achieve desired results. Refer to the manual for specific dial positions and optimal settings for various stitch types.

Advanced Adjustments for Specific Fabrics
Optimize serger performance by adjusting settings for delicate, heavy-duty, or stretch fabrics. Consult the manual for guidance on tension, differential feed, and looper adjustments to ensure perfect results.
4;1 Adjusting for Delicate Fabrics
For delicate fabrics, reduce thread tension and stitch length. Lower the looper tension to prevent fabric stretch or damage. Use a slower sewing speed and consider a specialized needle for lightweight materials. Ensure the differential feed is set to minimize pulling or puckering. Refer to the manual for specific guidelines on adjusting tension and feed settings for optimal results with sensitive fabrics.
4.2 Settings for Heavy-Duty Materials
For heavy-duty materials, increase stitch length and width for strength. Tighten thread tension slightly to prevent loose stitches. Adjust the differential feed to handle thick fabrics without distortion. Use a heavier-duty needle and consider specialized presser feet. Refer to the manual for specific tension and feed settings tailored to dense or thick fabrics like canvas or denim.
4.3 Differential Feed Adjustment
The differential feed adjusts fabric movement during sewing, preventing stretch or distortion. For stretchy fabrics, increase the front feed ratio. For heavy-duty materials, reduce it. Use the adjustment knob to set the ratio between 0.7:1 and 2.0:1. Test settings on scrap fabric to ensure even feeding and consistent stitch quality. Proper adjustment ensures smooth fabric handling and professional results.
Troubleshooting Common Issues
Diagnose and resolve issues like thread breakage, uneven stitches, or tension imbalances. Refer to the manual for step-by-step solutions to ensure smooth operation and consistent results.
5.1 Diagnosing Thread Breakage
Thread breakage can occur due to incorrect tension, improper threading, or worn parts. Check tension settings, ensure proper thread path, and inspect for damaged guides or loopers. Adjust tension discs and verify thread quality. Regular maintenance, like cleaning and lubricating, can prevent issues. Always test adjustments on scrap fabric to ensure optimal performance.
5.2 Resolving Tension Imbalances
Tension imbalances can cause uneven stitches or fabric puckering. Check upper and lower thread tensions, ensuring they are evenly set. Adjust tension discs by taking small turns and testing on scrap fabric. Over-tightening can damage threads or machine components. Balance tensions to achieve smooth fabric flow and consistent stitching quality for optimal serging results.
5.3 Fixing Uneven Stitch Patterns
Uneven stitches often result from incorrect thread tension or misaligned needles. Check and adjust upper and lower thread tensions, ensuring balanced settings. Re-thread the machine if necessary and verify needle alignment. Test adjustments on scrap fabric to ensure consistent stitching. Consult the manual for specific tension and alignment procedures to restore even stitch patterns effectively.
Maintenance and Care Tips
Regular cleaning and lubrication are essential for maintaining the JUKI MO-6716S. Clean dust and debris from internal components and lubricate moving parts. Inspect and replace worn parts promptly to ensure smooth operation and prevent damage. Always follow the manual’s guidelines for proper care and maintenance routines.
6.1 Regular Cleaning and Lubrication
Regular cleaning and lubrication are crucial for maintaining the JUKI MO-6716S’s performance. Use compressed air to remove dust and debris from internal components. Lubricate moving parts, such as the tension discs and looper, with sewing machine oil. Ensure the needle area is clean and free of lint. Follow the manual’s guidelines for lubrication intervals and methods to keep your serger running smoothly and prevent wear.
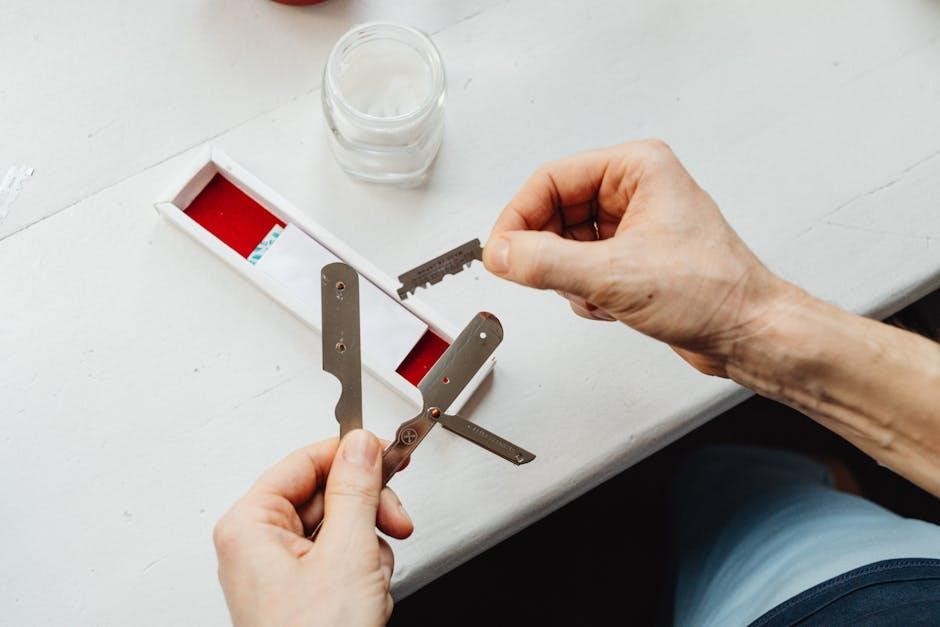
6.2 Checking and Replacing Worn Parts
Regularly inspect the JUKI MO-6716S for worn parts, such as needles, loopers, and feed dogs. Replace them promptly to maintain stitching quality. Consult the parts list in the manual for compatible replacements. Use genuine JUKI parts to ensure optimal performance. Always turn off the machine before performing replacements and follow safety guidelines to avoid injury or damage.
Specialized Adjustments
Explore advanced customization options for the JUKI MO-6716S, including needle height, lower looper fine-tuning, and differential feed adjustment for precise control over stitch quality and fabric handling.
7.1 Adjusting the Needle Height
Proper needle height ensures efficient fabric handling. Loosen the needle bar setscrew, then adjust the needle height screw to achieve optimal clearance. Refer to the manual for specific measurements. Always tighten the setscrew after adjustment to maintain stability. This ensures consistent stitching and prevents fabric damage. Adjusting needle height correctly enhances overall machine performance and stitch quality.
7.2 Fine-Tuning the Lower Looper
Fine-tuning the lower looper enhances stitch consistency. Loosen the lower looper setscrew, then adjust the screw to achieve proper loop formation. Refer to the manual for specific measurements. Ensure the looper moves smoothly without binding. Proper adjustment prevents uneven stitches and fabric damage. Regular fine-tuning maintains optimal performance and ensures high-quality results. Adjust carefully to avoid machine malfunction.
7.3 Positioning the Throat Plate
Proper positioning of the throat plate ensures accurate fabric movement and consistent stitching. Align the throat plate with the feed dogs to maintain even fabric flow. Adjust the plate to ensure it is level and securely fastened. This prevents fabric dragging and promotes precise stitch formation. Always test adjustments on scrap fabric to confirm proper alignment and functionality.
Using the Instruction Manual Effectively
This manual provides detailed guidance for adjustments, troubleshooting, and maintenance. Use the table of contents to navigate sections quickly and refer to diagrams for visual clarity.
8.1 Navigating the Manual’s Table of Contents
The table of contents is your roadmap to mastering the JUKI MO-6716S. It organizes sections like adjustments, troubleshooting, and maintenance for easy access. Clear headings and subheadings guide you to specific topics, while diagrams and illustrations provide visual support. Use this tool to quickly locate the information you need, ensuring efficient and effective use of the manual.
8.2 Understanding Diagrams and Illustrations
Diagrams and illustrations in the manual are essential for visualizing adjustments and machine components. They provide detailed views of parts like the lower looper and needle clamp, helping you understand their functions and relationships. Use these visuals to guide adjustments, ensuring accuracy and clarity. They complement written instructions, making complex procedures easier to follow and execute effectively.
Parts List and Reference Guide
This section provides a detailed list of essential parts for the JUKI MO-6716S, including descriptions and diagrams. It helps in identifying components for maintenance and repairs.
9.1 Essential Parts for Adjustments
The JUKI MO-6716S requires specific components for precise adjustments, including the lower looper, upper looper, tension dials, and differential feed knob. These parts ensure smooth operation and stitch quality. Regular inspection and maintenance of these elements are crucial for optimal performance. Always refer to the manual for detailed diagrams and descriptions to identify and replace worn or damaged parts effectively.
9.2 Ordering Replacement Parts
To ensure authenticity and compatibility, order replacement parts for the JUKI MO-6716S from authorized dealers or Juki’s official distributors. Use the parts list in the manual to identify correct numbers and descriptions. Verify the model number (e.g., MO-6716S) before placing orders to avoid mismatches. Downloading the parts list from Juki’s website guarantees accuracy and simplifies the process.
Common Mistakes to Avoid
Avoid over-tightening adjustments, as this can damage components. Never ignore safety guidelines or skip pre-adjustment checks. Improper threading and ignoring the manual’s instructions can lead to poor stitch quality and machine damage.
10.1 Over-Tightening Adjustments
Over-tightening adjustments can damage machine components, disrupt stitch quality, and lead to mechanical failure. Always follow the manual’s guidelines for tension and screw settings. Excessive force on springs or screws can permanently alter the machine’s calibration. Regularly check adjustments and avoid forcing parts into position. Proper technique ensures longevity and optimal performance of your JUKI MO-6716S serger.
10.2 Ignoring Safety Guidelines
Ignoring safety guidelines can lead to accidents, machine damage, or inconsistent stitching. Always read and follow the manual’s safety precautions before making adjustments. Failure to do so may result in injury or equipment malfunction. Ensure proper setup and operation to maintain safety and achieve optimal results with your JUKI MO-6716S serger. Safety first ensures longevity and reliability.

Best Practices for Consistent Results
For consistent results, always test adjustments on scrap fabric and maintain precise thread tension. Regular lubrication and proper needle alignment ensure reliability. Keep a record of settings for future reference to achieve professional-quality stitching every time. Consistency is key to mastering your JUKI MO-6716S serger.
11.1 Testing Adjustments on Scrap Fabric
Always test adjustments on scrap fabric to ensure proper thread tension and stitch quality. Sew straight lines to check consistency, then adjust as needed. This step prevents errors on actual projects and helps refine settings for different fabrics. Regular testing ensures reliable performance and professional results.
- Test thread tension and looper settings.
- Check differential feed adjustments.
- Analyze stitch consistency on various materials.
This practice guarantees optimal results.
11.2 Keeping a Record of Settings
Maintaining a record of your machine settings ensures consistency and saves time. Document thread tension, looper adjustments, and stitch lengths for different fabrics. Use a logbook or digital tool to track settings, allowing quick reference and minimizing re-adjustments. This practice enhances efficiency and guarantees reproducible results across projects.
- Record thread tension levels.
- Log looper and differential feed settings.
- Note fabric type and stitch quality.
This ensures precise adjustments every time.
Mastering the JUKI MO-6716S requires attention to detail and consistent practice. Proper adjustments ensure optimal performance, while regular maintenance guarantees longevity. Achieve professional results with precision and care.
12.1 Summary of Key Adjustments
Proper thread tension ensures balanced stitching, while precise looper adjustments guarantee smooth fabric flow. Accurate stitch length and width settings enhance seam quality. Regular maintenance, like cleaning and lubricating, sustains machine performance. Adjustments for specific fabrics, such as delicate or heavy-duty materials, optimize results. Always refer to the manual for detailed procedures to achieve consistent, professional outcomes.
12.2 Final Tips for Mastery
Consistency and precision are key to mastering the JUKI MO-6716S. Always test adjustments on scrap fabric before sewing final projects. Keep a record of settings for different fabrics and stitch types. Regular maintenance ensures optimal performance. Avoid over-tightening adjustments, as this can damage components. By following these guidelines, you’ll enhance your skills and achieve professional-quality results consistently.